
You can create a stunning gallery wall on a budget by mixing thrift store frames with modern prints and using paper templates to perfect your layout. Transform family photos into vintage-style art, incorporate unexpected 3D elements like woven baskets or decorative plates, and unify mismatched frames with a fresh coat of paint. Get creative with washi tape layouts and varied frame sizes for visual interest. These simple tricks will help you design the Pinterest-worthy display you’ve been dreaming of.
Key Takeaways
- Create paper templates of frames and experiment with layouts on the floor before committing to wall placement.
- Transform mismatched thrift store frames into a cohesive collection by painting them in coordinating colors.
- Mix vintage pieces with modern prints and incorporate three-dimensional objects for added visual interest and depth.
- Use dollar store frames and remove glass for a casual, modern look while maintaining a unified aesthetic.
- Start with a central focal piece and build outward, maintaining balanced spacing and visual weight throughout the arrangement.
Mix Thrift Store Frames With Modern Prints
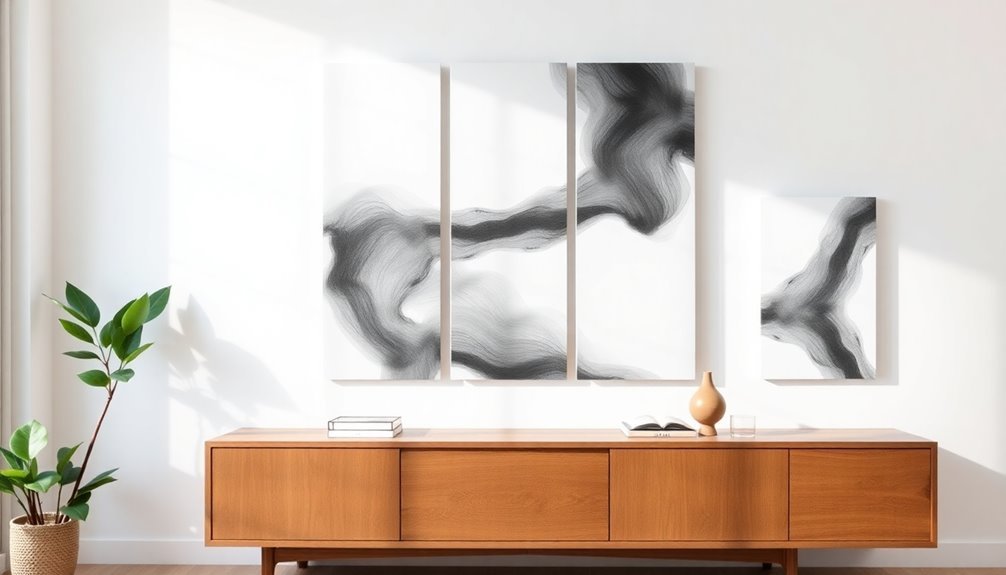
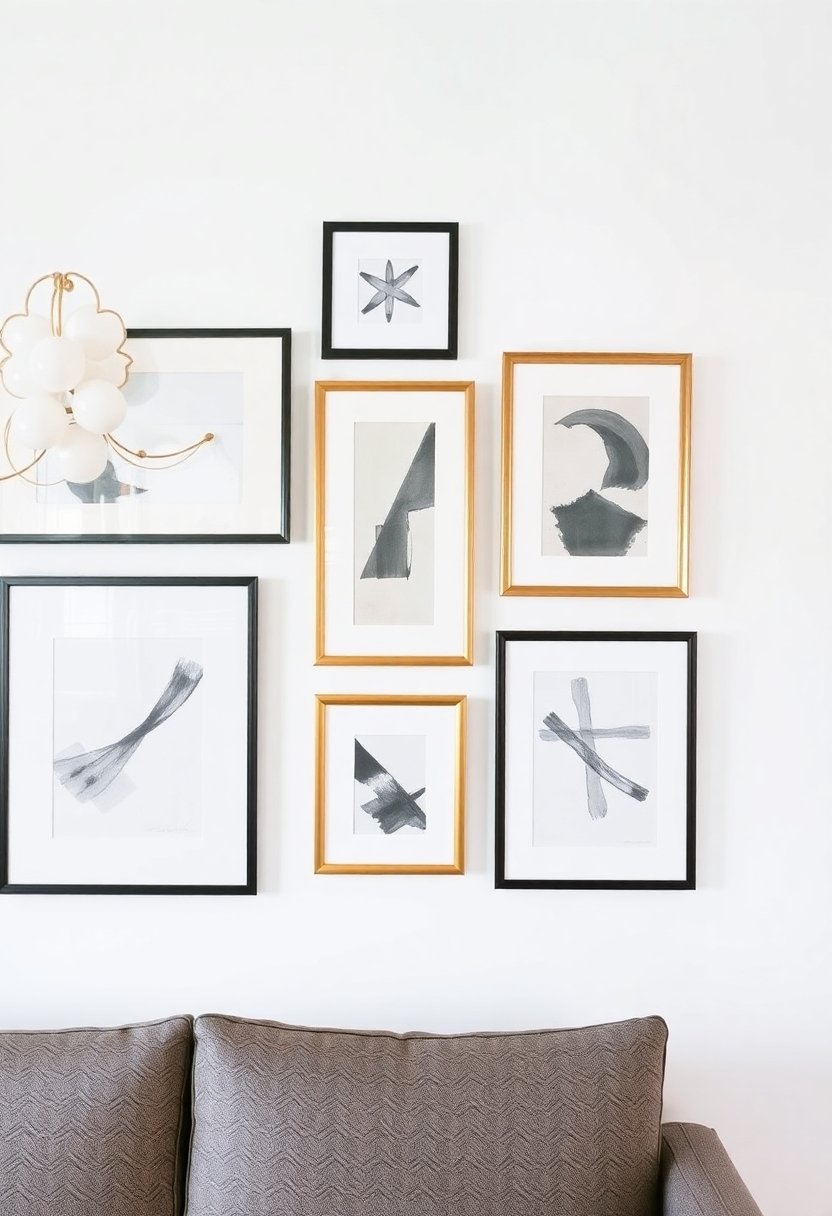
While creating a gallery wall can feel like a challenging task, mixing vintage frames from thrift stores with contemporary prints offers a perfect blend of old and new that won’t break the bank. You’ll find unique, character-filled frames at secondhand shops for just a few dollars each, and they’re perfect for showcasing modern art prints, family photos, or digital downloads.
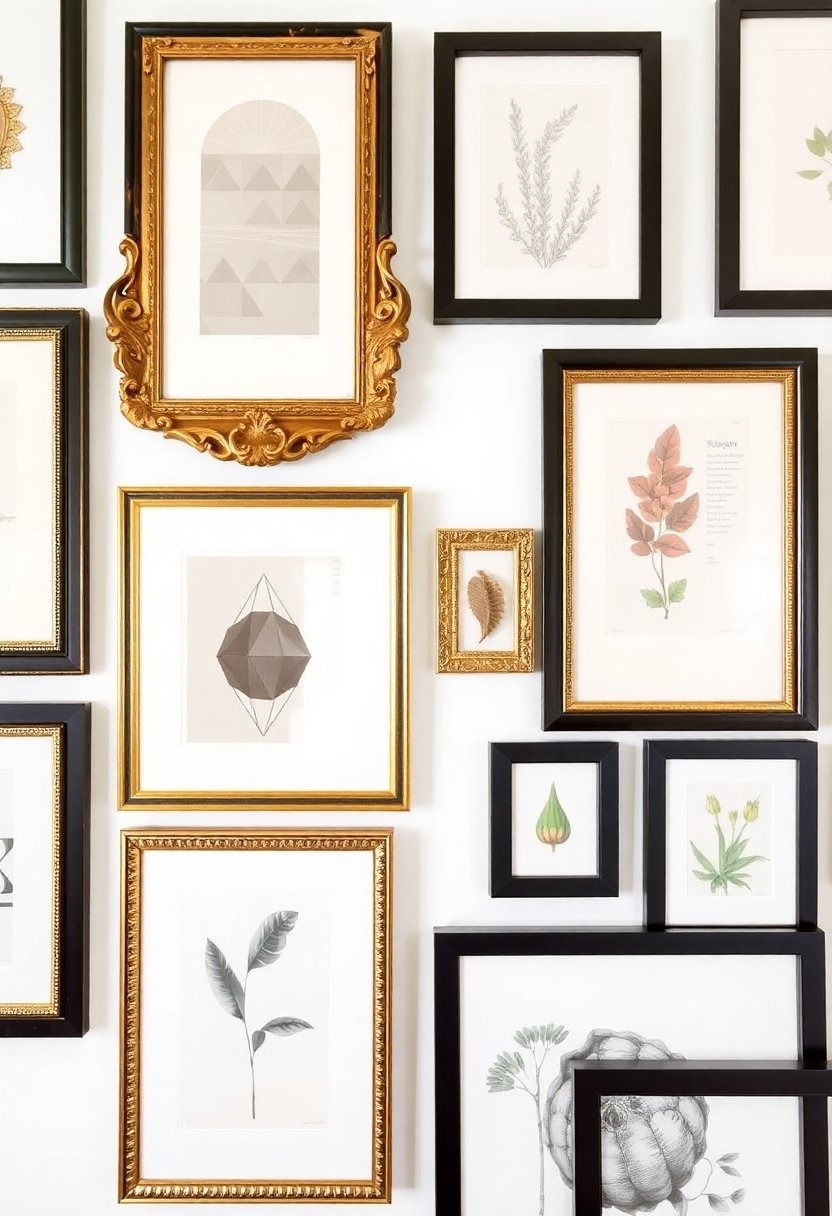
Don’t worry if the frames don’t match perfectly – that’s part of the charm! Simply unify them with a fresh coat of paint in your chosen color scheme. You can even mix ornate golden frames with sleek black ones for an eclectic, designer-inspired look. Adding boho wall accents between frames creates an eye-catching layered effect that enhances the artistic appeal.
Create Templates With Kraft Paper Before Hanging
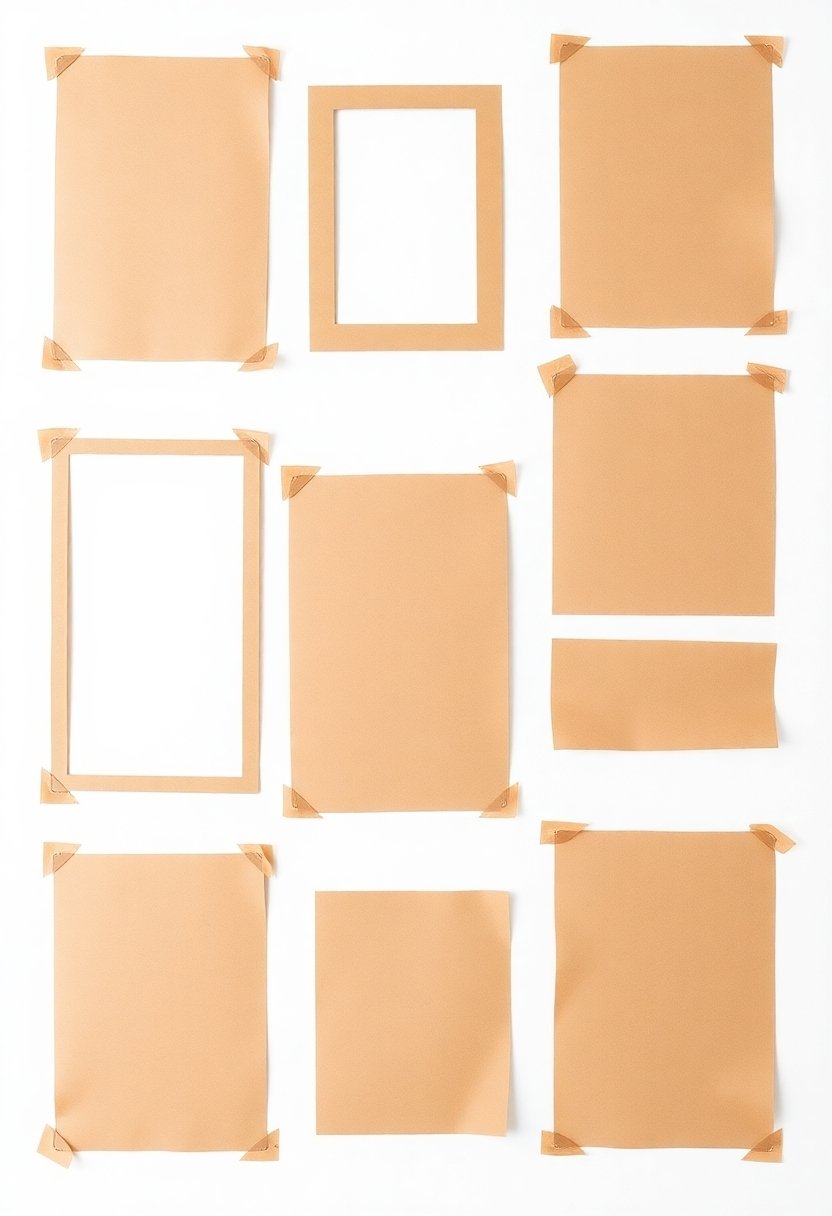
Before you start hammering nails into your wall, creating paper templates for each frame will save you from unnecessary holes and headaches. Trace each frame onto kraft paper, cut them out, and label them with the corresponding artwork. You’ll love how this simple step makes arranging your gallery wall so much easier.
- Use painter’s tape to position templates on your wall
- Step back often to assess the layout from different angles
- Mark nail positions directly on the templates
- Keep spacing consistent between frames
- Leave templates up until you’re completely satisfied with the arrangement
This method lets you experiment confidently with different layouts until you find the perfect flow for your space. Just like hanging shoe racks maximize vertical storage, this template technique helps you maximize your wall space efficiently.
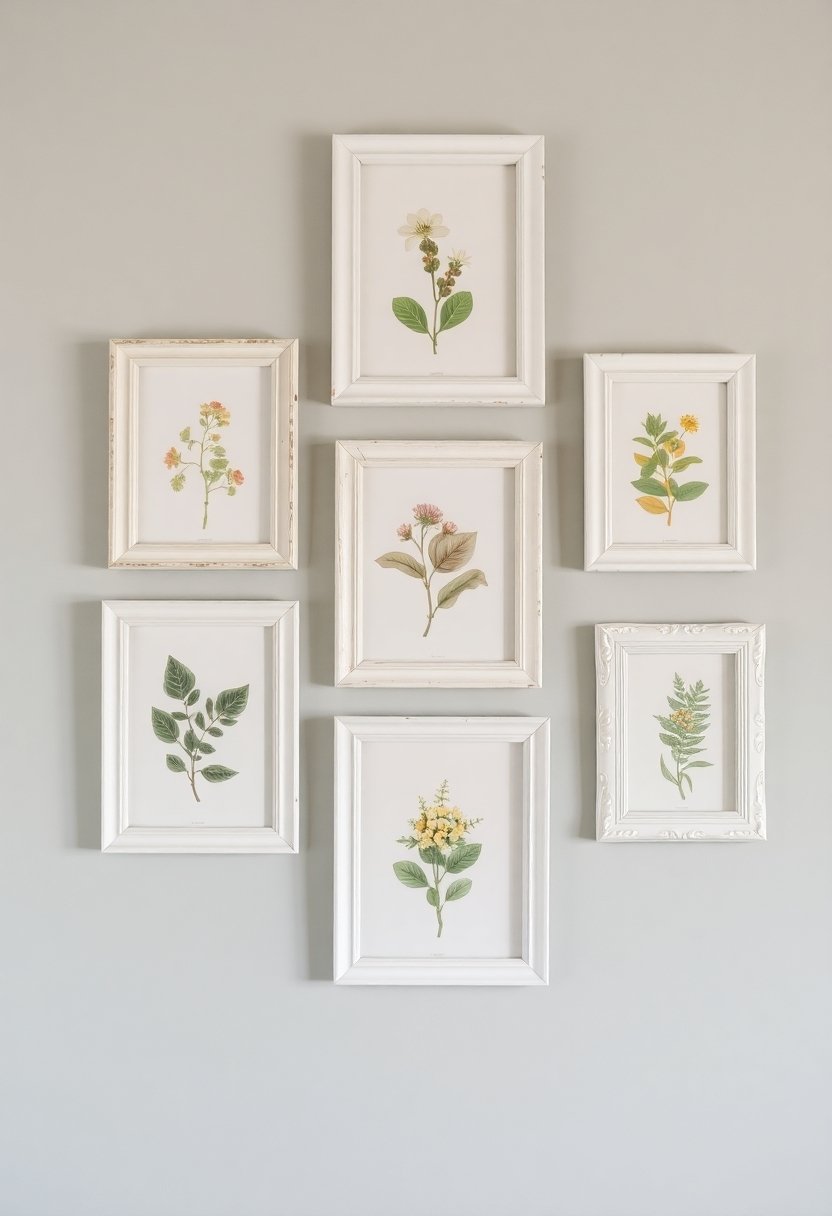
Transform Family Photos Into a Vintage Collection
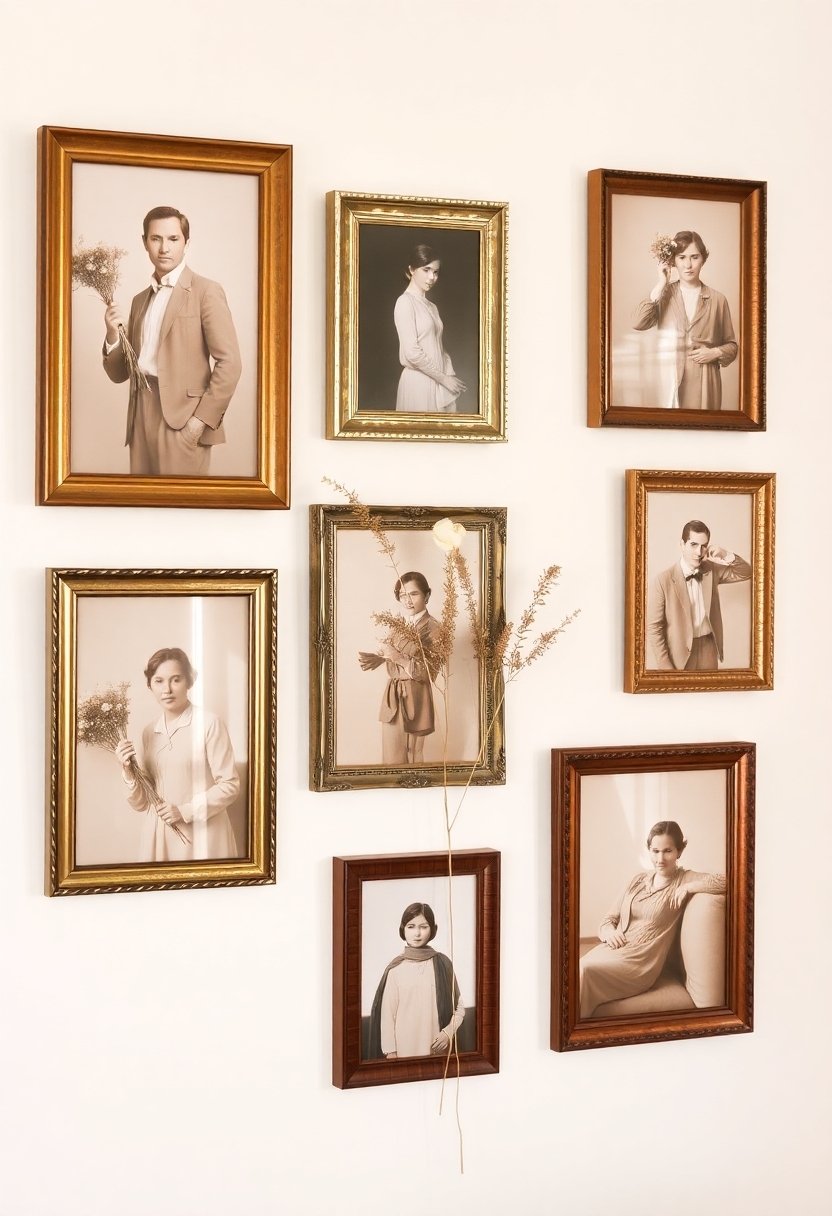
Creating a vintage-inspired gallery wall transforms your cherished family photos into a timeless display that feels like it’s straight out of a classic estate. Start by converting your favorite photos to black and white or sepia tones using a photo editing app. You’ll love how these warm, muted colors instantly add nostalgic charm. Match your frames by painting mismatched thrift store finds in coordinating metallic shades like antique gold or weathered silver. Don’t forget to mix in a few vintage-style botanical prints or old maps to enhance the classic feel. Add character with distressed finishes and antique-inspired matting. Browse through curated collections of modern wall art online to find additional period-appropriate pieces that complement your family photos.
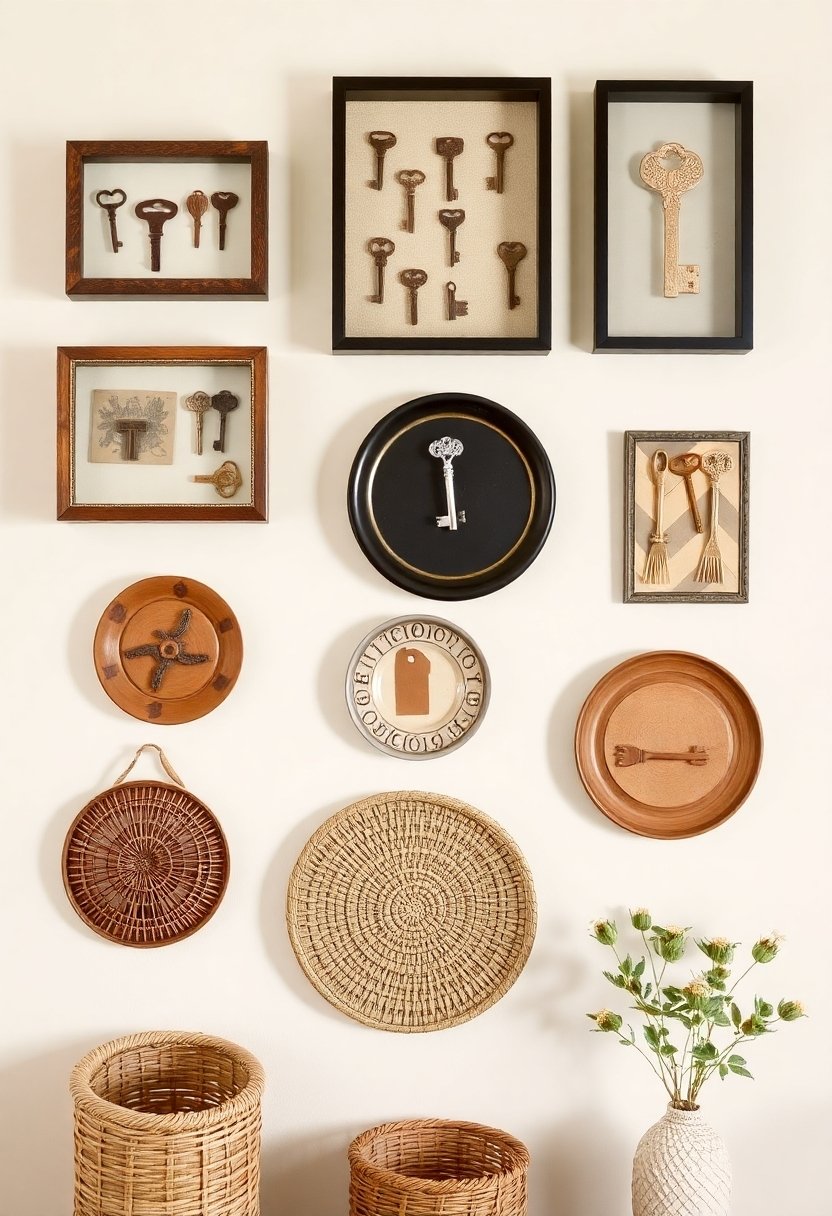
Incorporate Unexpected Objects as Wall Art
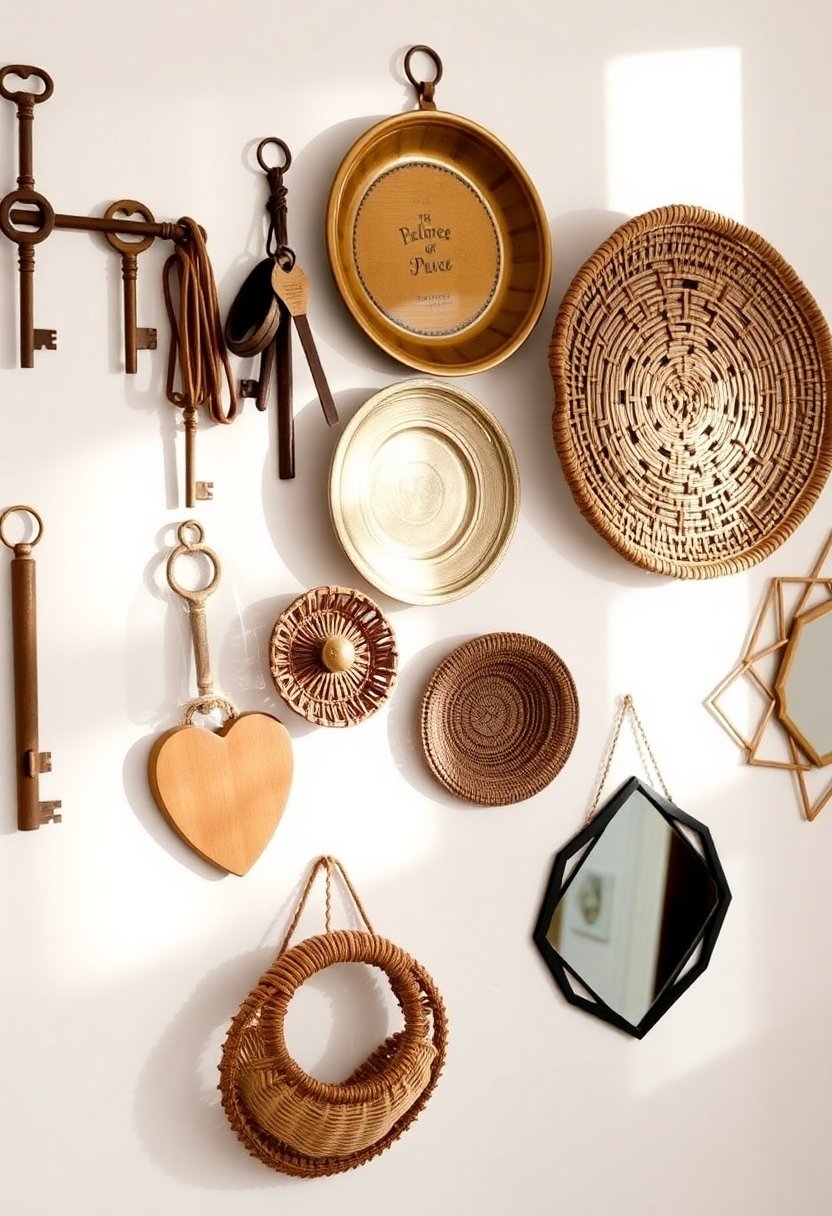
Since gallery walls don’t have to be limited to traditional artwork, you’ll love discovering how everyday objects can become stunning conversation pieces in your home. Think outside the frame and let your creativity soar by incorporating meaningful items that tell your unique story.
- Vintage serving trays or decorative plates add metallic shine and dimension
- Woven baskets bring natural texture and rustic charm
- Your grandmother’s antique hand mirrors create reflective elegance
- Architectural salvage pieces add industrial character
- Musical instruments transform into sculptural elements
These unexpected treasures will make your gallery wall truly one-of-a-kind, reflecting your personality while adding depth and visual interest to your space. Transform any room into a stunning focal point with gallery wall decor that blends both traditional and unconventional elements.
Use Washi Tape for Commitment-Free Layouts
When you’re hesitant about making nail holes in your walls, washi tape offers the perfect solution for testing gallery wall arrangements. This colorful, removable tape lets you experiment with different layouts without any commitment or wall damage. Removable wall decals provide another damage-free alternative for creating stunning gallery displays.
| Benefits | Drawbacks |
|---|---|
| Easy to remove | Less durable |
| No wall damage | May need replacing |
| Affordable | Limited weight support |
| Multiple colors | Weather sensitive |
You’ll love how washi tape’s versatility allows you to switch up your design whenever inspiration strikes. Simply stick your photos and lightweight art pieces directly onto the tape, and you’re free to adjust until you find your perfect arrangement.
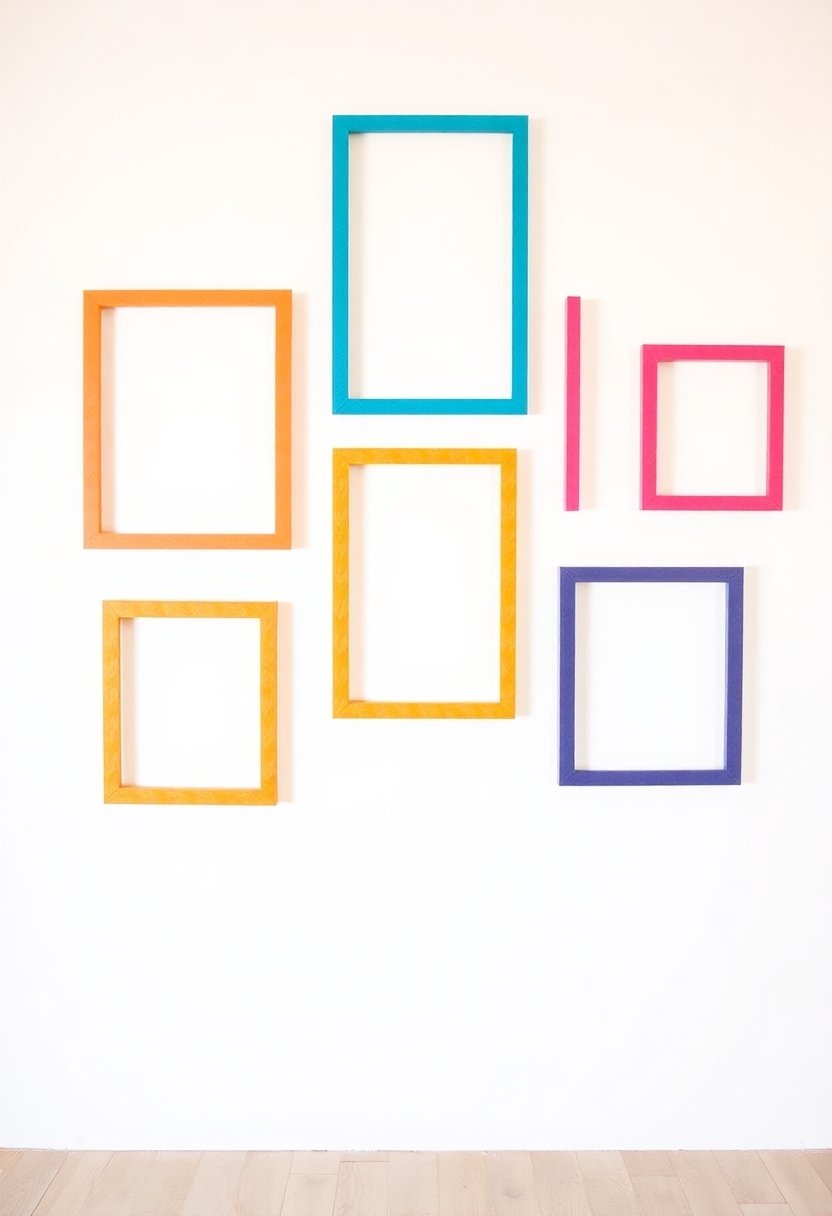
Shop Dollar Store Frames for Budget-Friendly Style

Dollar store frames offer an incredible way to build your gallery wall without breaking the bank. You’ll find a surprising variety of styles and sizes that, with a little creativity, can transform into stunning displays. Paint them in coordinating colors, or leave them as-is for an eclectic look.
- Mix metallic and plain frames for visual interest
- Group similar sizes together for cohesive impact
- Spray paint mismatched frames in a unified color
- Add decorative elements like washi tape or ribbons
- Remove glass for a more casual, modern feel
Don’t let a tight budget hold you back – these affordable frames can help you create a gallery wall that’s uniquely yours.
Design a Cohesive Look With Spray Paint
Taking your mismatched frames to the next level is as simple as grabbing a can of spray paint. Choose a single color to unify frames from different sources, creating a polished, designer look that’ll wow your guests. Whether you prefer classic white, bold black, or trendy metallic finishes, spray paint transforms ordinary frames into a cohesive collection.
For best results, clean your frames thoroughly, and work in a well-ventilated area. Apply thin, even coats, letting each layer dry completely. Don’t forget to protect the glass and backing with painter’s tape. Your newly coordinated gallery wall will look like it came straight from a high-end decor store.
Master the Perfect Spacing With Ruler Tricks
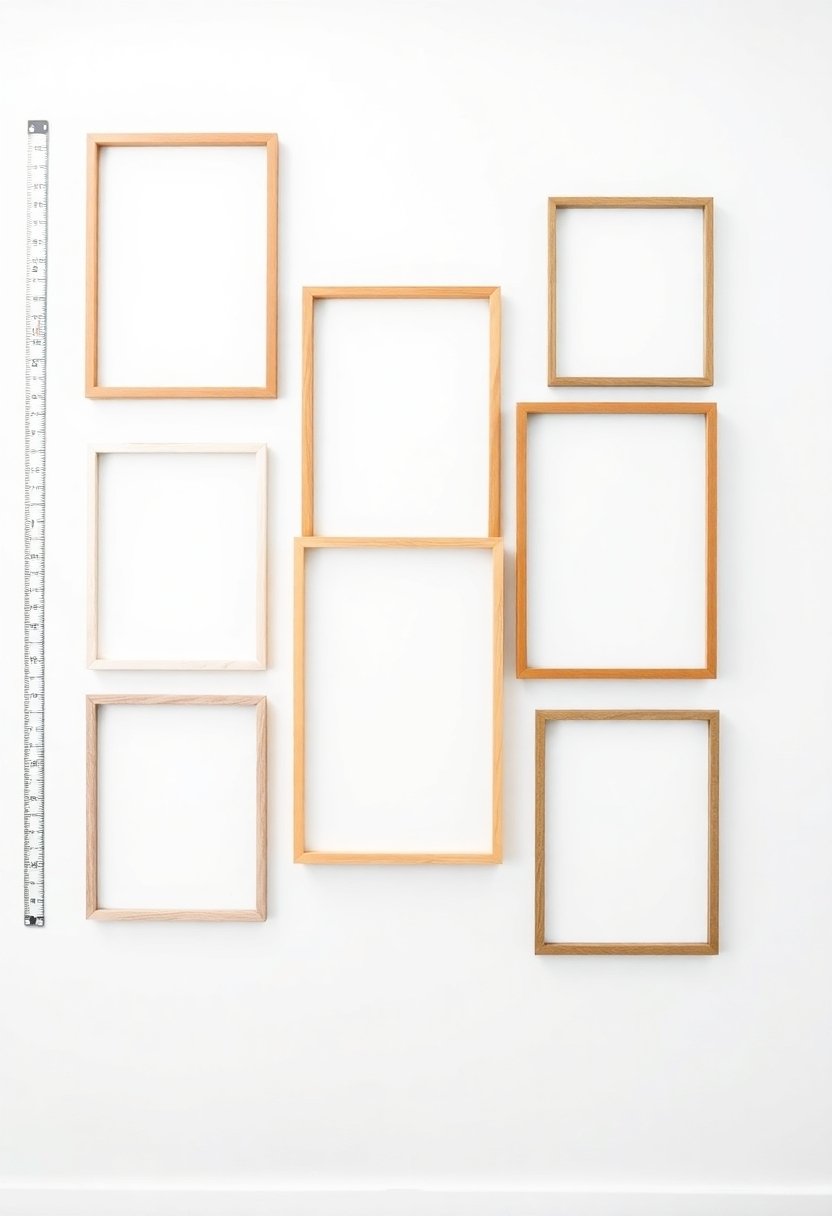
Although many DIYers fear the measuring process, you’ll love how simple it can be to achieve perfect frame spacing with a few smart ruler tricks. With the right measuring techniques, you’ll create gallery walls that look professionally designed.
- Use a laser level to draw precise horizontal and vertical guidelines
- Place paper templates on the wall to visualize spacing before hanging
- Mark frame centers with painter’s tape spaced 2-3 inches apart
- Measure equal distances from the ceiling and adjacent walls
- Create a cardboard spacer to maintain consistent gaps between frames
Let these measuring shortcuts boost your confidence, and you’ll discover that perfect spacing isn’t as tricky as it seems.
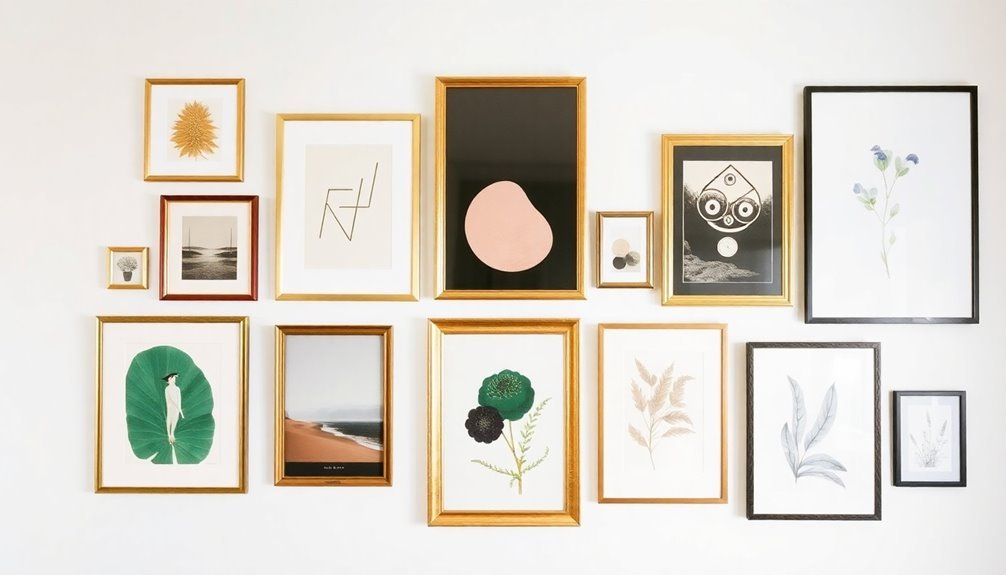
Blend Different Frame Sizes for Visual Interest
Now that you’ve mastered perfect spacing, let’s release your creativity with different frame sizes. By mixing large, medium, and small frames, you’ll create depth and visual interest that draws the eye naturally across your wall. Don’t be afraid to experiment with statement pieces alongside smaller, complementary frames.
| Frame Size | Best For | Impact Level |
|---|---|---|
| Large (16×20″+) | Focal Points | Dramatic |
| Medium (11×14″) | Balance | Moderate |
| Small (5×7″) | Accents | Subtle |
| Mini (4×4″) | Fillers | Delicate |
| Mixed Sets | Flow | Dynamic |
Remember to place your largest piece at eye level, then build around it with smaller frames that complement rather than compete with your centerpiece.
Add Depth With Three-Dimensional Elements
While your gallery wall may look stunning with its mix of frame sizes, you’ll create even more visual magic by incorporating three-dimensional elements into your design. Adding depth transforms your display from flat to enchanting, drawing the eye naturally across different layers of interest.
- Mount small floating shelves to display cherished keepsakes
- Hang woven baskets or macramé pieces for organic texture
- Include sculptural elements like ceramic plates or metal art
- Attach shadow boxes to showcase meaningful mementos
- Layer decorative mirrors to reflect light and create depth
These dimensional elements will turn your gallery wall into a enchanting focal point that tells your unique story through both art and objects.
Frequently Asked Questions
How Do You Prevent Frames From Becoming Crooked Over Time?
You’ll love these simple tricks to keep your frames perfectly aligned! Start by using two picture hanging hooks per frame instead of one, which creates better stability. Add small adhesive rubber bumpers to the bottom corners of your frames, and try using museum putty or command strips behind the frames’ bottom edges. For extra security, level each frame carefully before hanging, using a bubble level tool.
What’s the Ideal Height to Start a Gallery Wall From the Floor?
You’ll want to start your gallery wall around 57 to 60 inches from the floor, measuring to the center of your main piece. This height creates perfect eye level viewing for most people, making your art both comfortable to view and visually balanced. For seating areas like living rooms, you can lower this slightly to 55 inches, which works better when people are sitting down to enjoy your display.
Should Gallery Walls Extend Around Corners or Stop at Wall Edges?
You’ll get the best results by stopping your gallery wall at corners rather than wrapping around them. While extending around corners might seem tempting, it can make your display feel disconnected and harder to appreciate at a glance. Instead, treat each wall as its own canvas, and create separate gallery arrangements that complement each other. This approach keeps your displays cohesive and visually balanced in each space.
How Often Should I Update or Rotate Artwork in My Gallery Wall?
You’ll want to refresh your gallery wall every 6-12 months to keep your space feeling dynamic and inspiring. Don’t feel pressured to change everything at once – you can start by swapping out just one or two pieces that catch your eye. Many people enjoy updating their displays with the seasons, bringing in warmer colors for fall and lighter pieces for spring, making your space feel fresh and personal year-round.
What’s the Maximum Weight Limit for Frames Without Damaging Drywall?
For standard drywall, you’ll want to keep your framed pieces under 20 pounds when using regular picture hooks, and up to 50 pounds with proper wall anchors. If you’re hanging multiple frames, it’s best to spread the