You can create beautiful storage solutions without spending much money by transforming everyday items into stylish organizers. Turn empty pasta sauce jars into pretty bathroom containers, craft fabric-covered boxes from cardboard, and upgrade thrifted glass jars with decorative labels. With some creativity and basic supplies, your space can look magazine-worthy while keeping your budget intact. Let’s explore these simple tricks to organize your home beautifully.
Key Takeaways
- Transform pasta sauce jars and pickle containers into elegant bathroom or pantry storage by removing labels and adding decorative touches.
- Cover basic cardboard boxes with fabric scraps to create custom storage boxes that match your room’s decor.
- Paint jar lids in matching colors and add printed labels to create cohesive storage sets from mismatched containers.
- Scout thrift stores for glass jars and tins, then clean thoroughly and embellish with washi tape or decorative paper.
- Repurpose metal cookie tins and coffee canisters into stylish organizers for craft supplies, sewing items, or office materials.
Transform Empty Food Containers Into Stylish Storage
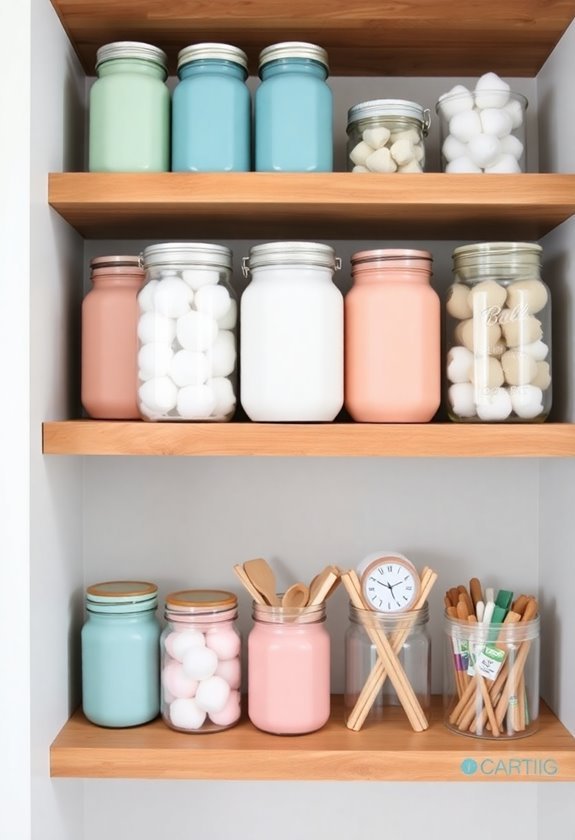
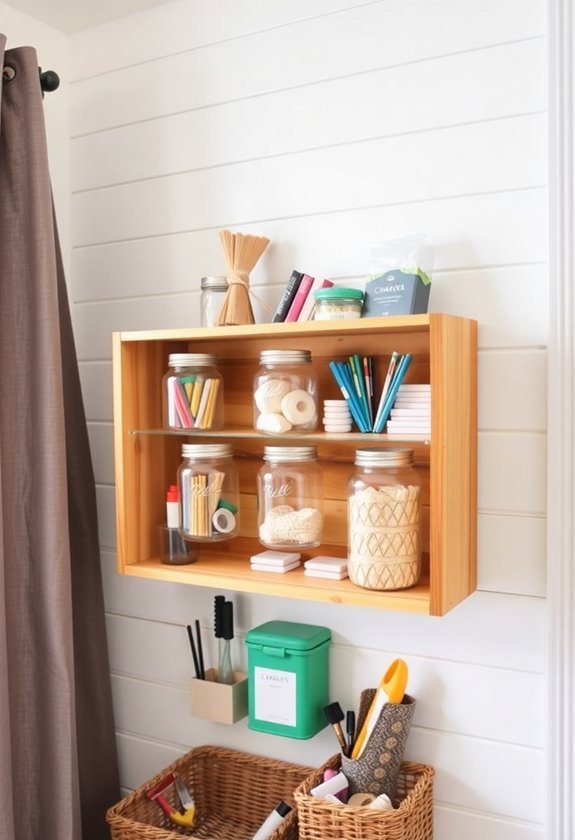
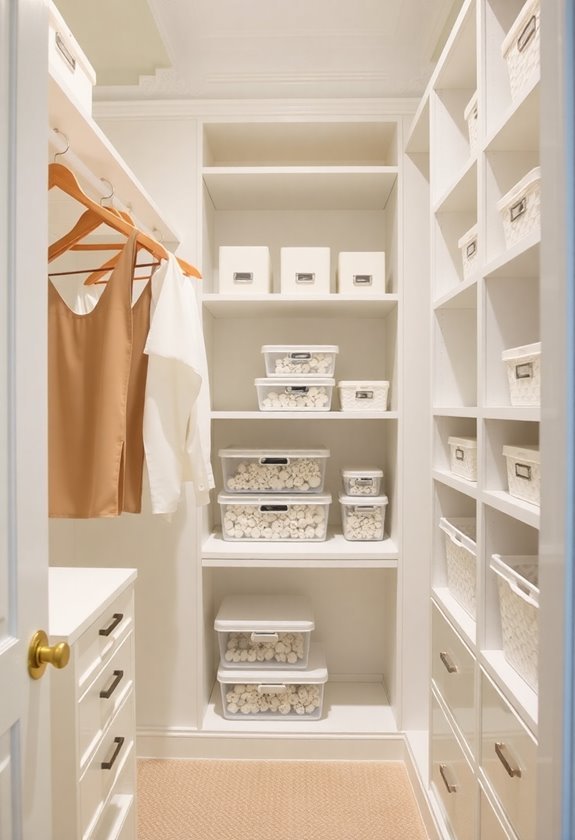
While many of us toss empty food containers into the recycling bin without a second thought, these everyday items can become beautiful, practical storage solutions that won’t strain your budget. You’ll love transforming glass pasta sauce jars into bathroom organizers for cotton balls and Q-tips, or using clean coffee canisters to store art supplies and crafting materials. Simply remove labels with warm soapy water, paint the lids in your favorite colors, and add decorative paper or washi tape. Metal cookie tins make perfect sewing kits, while large pickle jars become stunning containers for dried goods in your pantry. These DIY storage solutions can completely transform any room while maintaining style and organization on a budget.
Create DIY Fabric Storage Boxes From Cardboard
Instead of spending money on expensive storage boxes, you can create beautiful custom containers using cardboard boxes and fabric you already have at home. It’s amazing how a simple cardboard box can transform into a stunning storage solution that’ll make your space feel more organized and personal. Budget storage solutions can help maximize your space without draining your wallet.
| Materials | Tools | Steps |
|---|---|---|
| Cardboard box | Scissors | Cut box lid |
| Fabric | Glue gun | Cover sides |
| Batting | Ruler | Add batting |
| Ribbon | Pencil | Secure edges |
You’ll love how these DIY boxes add charm to any room while keeping your belongings neatly tucked away. Don’t worry if they’re not perfect – each unique box tells its own story!
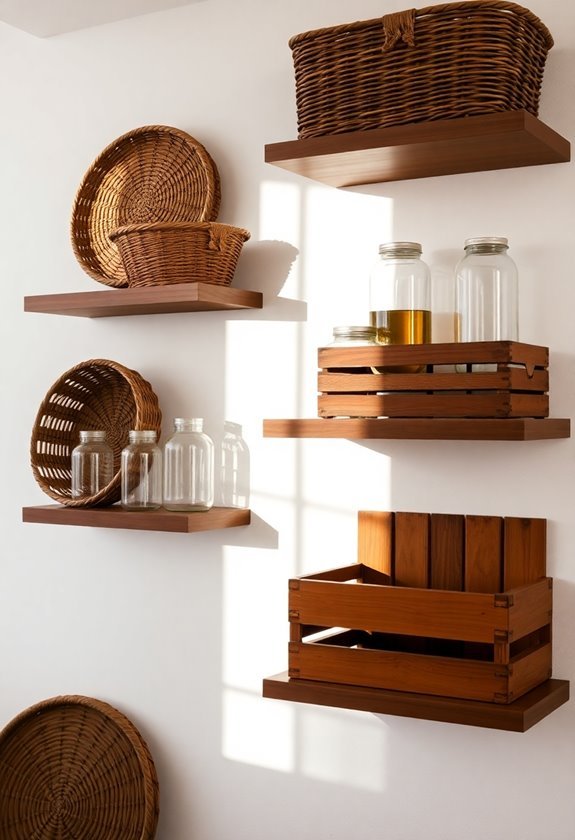
Organize With Thrifted Glass Jars and Pretty Labels
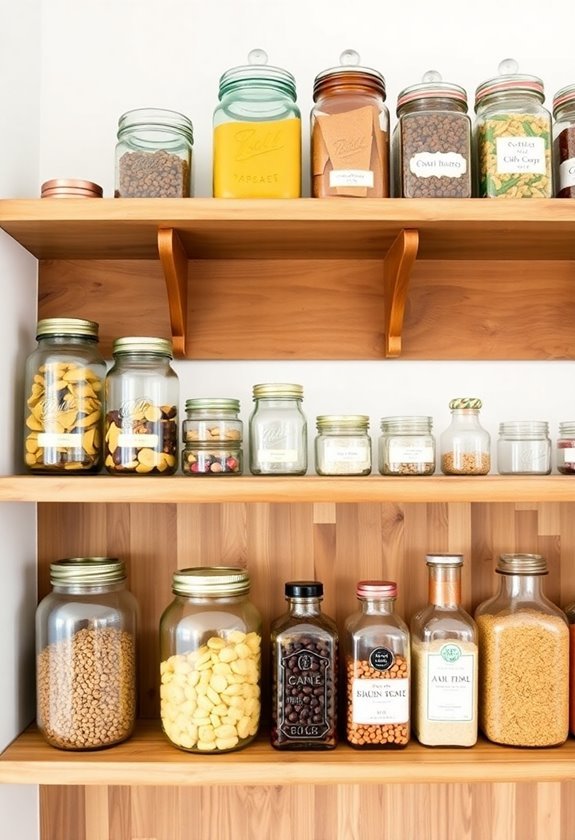
Another budget-friendly storage solution that’s both beautiful and practical comes from repurposing glass jars. You’ll find plenty of these gems at thrift stores, yard sales, or even in your recycling bin. Clean them thoroughly, remove labels with warm soapy water, and let them dry completely.
Transform these simple containers by adding decorative labels you can print at home or hand-write with markers. They’re perfect for storing everything from pasta and rice to cotton balls and craft supplies. Line them up on open shelving or tucked in cabinets – you’ll love how organized your space feels with these charming, earth-friendly storage solutions. Creating affordable room decor helps elevate your living space without breaking the bank.
Frequently Asked Questions
How Long Do DIY Storage Solutions Typically Last Before Needing Replacement?
Your DIY storage solutions can last anywhere from 1-5 years, depending on your materials and craftsmanship. When you use sturdy materials like solid wood, metal, or thick plastic, and maintain them well, they’ll serve you longer. Light-duty solutions, like cardboard or thin plastic, might need replacement within months. You’ll extend their life by keeping them dry, handling them gently, and doing quick repairs when needed.
What Are the Best Ways to Prevent Moisture Damage in Repurposed Containers?
You’ll keep your repurposed containers moisture-free with these reliable methods: add silica gel packets, line containers with wax paper or aluminum foil, and seal gaps with weatherstripping. For extra protection, store your containers in cool, dry spots away from direct sunlight and humidity. If you’re using cardboard boxes, paint them with waterproof sealant, and always raise them slightly off the ground using bricks or wooden blocks.
Which Adhesives Work Best for Long-Term Storage Container Modifications?
For storage container modifications, you’ll get the best results with silicone adhesive or epoxy. They’re both waterproof and create strong, lasting bonds. If you’re working with plastic containers, look for adhesives specifically labeled “plastic-safe.” Don’t forget to rough up the surfaces lightly with sandpaper before applying any adhesive, and give it plenty of time to cure completely before using your containers.
How Can I Eliminate Food Odors From Containers Before Repurposing Them?
While plastic containers trap stubborn smells, you’ve got plenty of options to make them fresh again! First, soak them overnight in warm water with baking soda, then scrub gently. You can also try vinegar and lemon juice for tougher odors, or leave them in direct sunlight for a few hours. If those methods don’t work, create a paste with baking soda and water, let it sit for 30 minutes, then rinse thoroughly.
What Cleaning Products Are Safe to Use on Different Storage Container Materials?
You’ll find that glass containers are the most versatile, handling any cleaning solution from vinegar to dish soap. For plastic, stick to gentle dish soap and warm water, avoiding harsh chemicals that can break down the material. With metal containers, you can use baking soda paste for tough stains, while ceramic and stoneware are safe with mild detergents. Always rinse thoroughly and dry completely before storing.