
You’ll love these budget-friendly ways to transform your space for under $20 each. Create a magical photo wall with string lights and wooden clothespins, design pressed flower art in dollar store frames, or craft geometric patterns using washi tape. Try wrapping thrifted fabrics around canvas for wall art, making throw pillow covers from vintage textiles, or turning mason jars into stylish organizers. These creative projects will help you discover your inner designer while making your home uniquely beautiful.
Key Takeaways
- Create a magical photo display using string lights and mini wooden clothespins to showcase cherished memories for under $15.
- Transform dollar store frames into elegant wall art by arranging pressed flowers on white paper with clear craft glue.
- Design geometric patterns on walls with colorful washi tape for an instant, removable, and budget-friendly art installation.
- Craft envelope-style throw pillow covers from thrifted fabrics, combining unique patterns and textures for custom home accents.
- Wrap thrift store canvas boards with fabric scraps and ribbons to create textured wall art pieces for less than $10.
DIY String Light Photo Wall Display

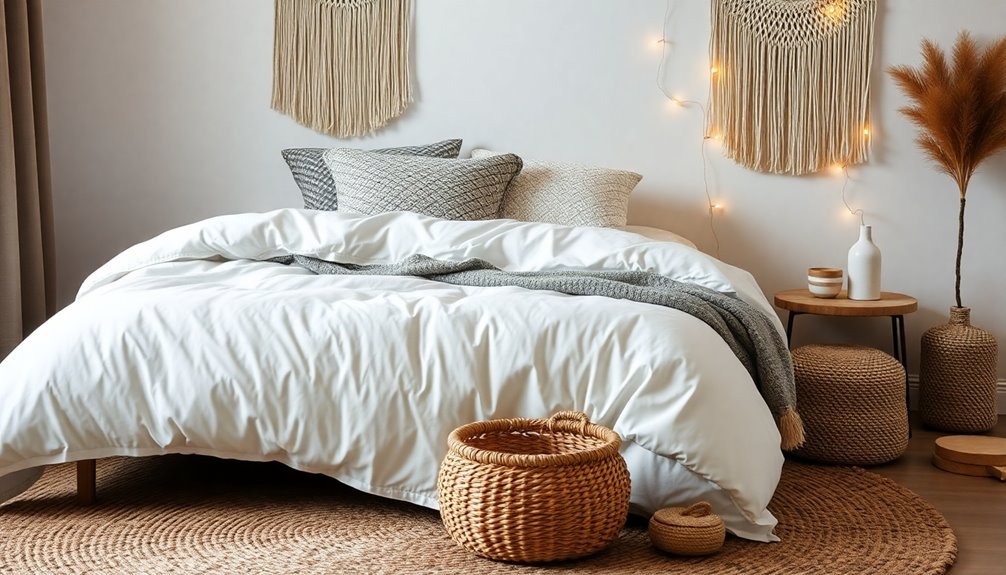
Memories come alive when you create a magical photo wall display using string lights and your favorite snapshots. All you’ll need is a set of warm-toned fairy lights, mini wooden clothespins, and cherished photos to get started. Simply clip your pictures along the string lights, spacing them evenly for the perfect arrangement. You can zigzag the lights across your wall or create geometric shapes for added visual interest. Don’t worry about perfection – the natural, casual arrangement adds charm. This cozy display transforms any room into a personal gallery, and the soft glow creates an enchanting ambiance for sharing stories with friends and family. For the most stunning effect, choose holiday string lights with tiny, evenly-spaced bulbs that won’t overpower your photos.
Decorative Throw Pillow Covers From Thrift Store Fabrics

After brightening your walls with photos, let’s add some cozy charm to your seating areas. You’ll love transforming thrift store fabrics into stunning pillow covers that’ll refresh your space instantly. Simply hunt for beautiful textiles like vintage scarves, tablecloths, or curtains at your local thrift shop.
| Material Needed | Estimated Cost |
|---|---|
| Thrift fabric | $3-5 |
| Thread | $2-3 |
| Buttons/Zipper | $2-4 |
With basic sewing skills, you can create envelope-style covers or add zippers for a polished look. Don’t worry if you’re new to sewing – simple straight stitches will work perfectly. Mix patterns and textures to create an inviting, personalized collection that’ll make your space feel wonderfully unique. Your unique home accents will stand out even more when you combine different thrifted fabrics in complementary colors.
Pressed Flower Art in Dollar Store Frames

Natural beauty comes alive when you create stunning pressed flower art using simple dollar store frames. You’ll find endless inspiration in your garden or local parks, where delicate blooms await transformation into timeless wall decor. Press your favorite flowers between heavy books for two weeks, then arrange them thoughtfully on plain white paper. For added visual interest, consider layering your pressed flowers with removable wall decals to create depth and dimension.
- Watch as forgotten blooms become cherished memories
- Transform your space with nature’s vibrant colors
- Create unique gifts that touch hearts
- Express your creativity without breaking the bank
Simply secure your pressed flowers with clear craft glue, slip them into dollar store frames, and hang them where sunlight can highlight their preserved beauty. You’ll love how these botanical treasures bring warmth to any room.
Geometric Wall Design With Washi Tape

Looking to transform your walls without spending a fortune? Washi tape geometric designs offer a perfect solution that’s both stunning and budget-friendly. You’ll love how this colorful Japanese masking tape creates eye-catching patterns that instantly elevate any room’s style.
| Design | Difficulty | Time Needed |
|---|---|---|
| Diamond | Easy | 30 mins |
| Hexagon | Medium | 45 mins |
| Mountain | Easy | 20 mins |
| Chevron | Medium | 40 mins |
Simply plan your pattern, stick the tape carefully onto your wall, and you’ve got instant art! You can create bold statement walls or subtle accents that’ll make your space feel custom-designed. Best of all, washi tape peels off cleanly when you’re ready for a change. When you’re done decorating your walls, keep your washi tape collection organized in storage boxes that add charm to your craft space.
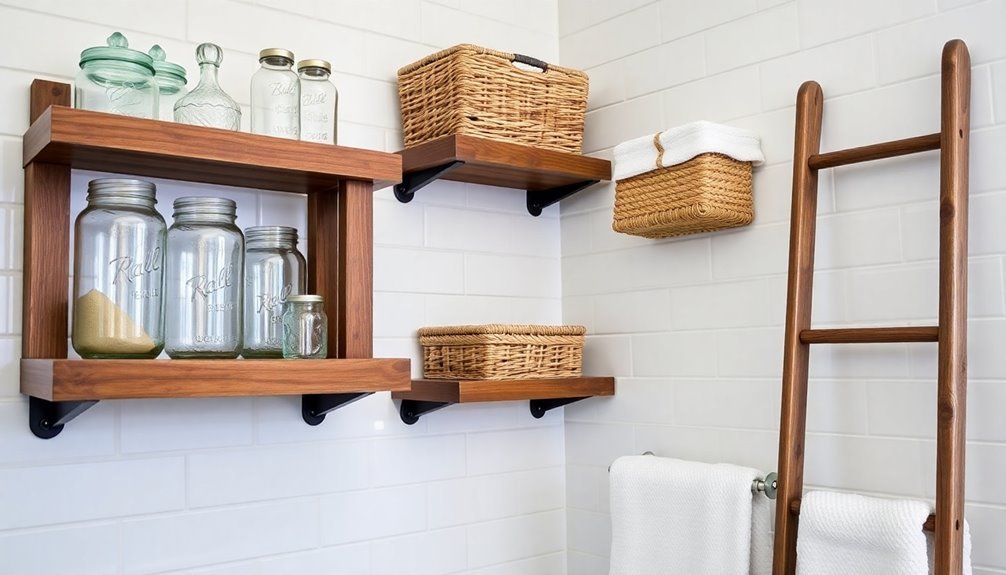
Floating Book Shelves Using Repurposed Materials

When creativity meets sustainability, magic happens in your home decor journey. You can transform everyday items into stunning floating bookshelves that’ll make your walls pop without breaking the bank. Old wooden crates, unused drawer fronts, and even metal brackets from your garage can become eye-catching storage solutions. Create a clutter-free space with creative DIY storage that maximizes vertical space while minimizing cost.
- Feel the satisfaction of giving new life to forgotten treasures
- Experience the joy of showcasing your favorite books in style
- Create conversation pieces that reflect your unique personality
- Embrace the warmth of sustainable, handcrafted home decor
Simply clean your chosen materials, add a fresh coat of paint if desired, and secure them firmly to wall studs. Your books will appear to float gracefully, adding character to any room.
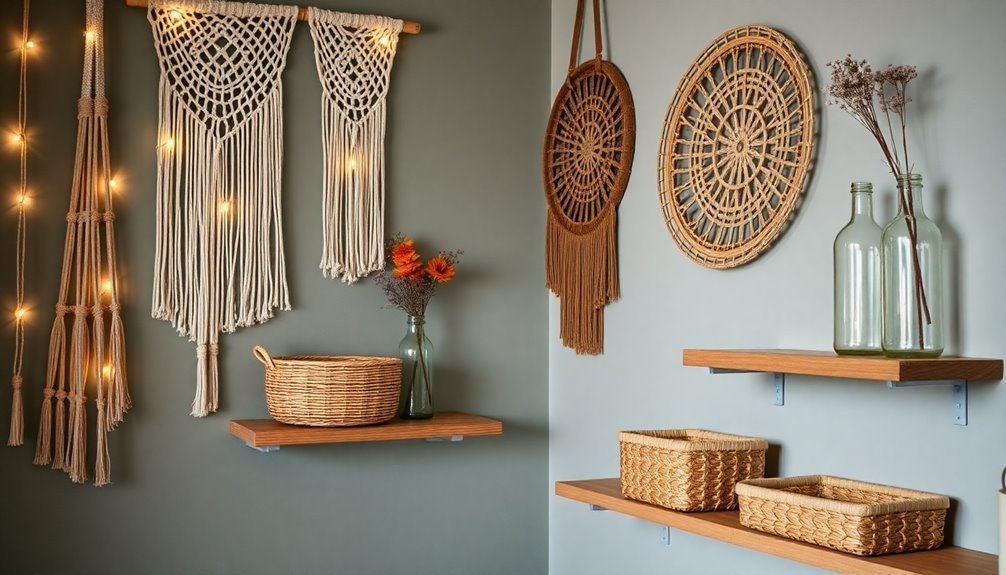
Macramé Plant Hangers From Cotton Rope

Making your own macramé plant hangers can become one of the most rewarding DIY projects you’ll ever tackle. With just a few dollars’ worth of cotton rope, you can create stunning displays for your favorite houseplants that’ll add warmth and texture to any room.
Start by gathering your materials: soft cotton rope, scissors, and a measuring tape. You’ll learn basic knots like the square knot and spiral knot, which form the foundation of your design. Don’t worry if your first attempts aren’t perfect – each knot gets easier with practice, and soon you’ll be crafting beautiful hangers that look store-bought but cost a fraction of the price.
Painted Mason Jar Organizers and Vases

Since Mason jars are readily available in most homes, transforming them into beautiful organizers and vases is one of the most budget-friendly ways to refresh your space. With just some paint, ribbon, and creativity, you’ll create stunning pieces that reflect your personal style.
- Create a vintage feel with chalk paint and distressed edges
- Add sparkle with metallic paint and twine accents
- Design an ombré effect using graduated paint shades
- Mix and match colors for a cheerful bathroom organizer
You’ll love how these painted jars brighten up your windowsills, bathroom counters, and desk space while keeping your items neatly organized. Don’t forget to seal your work with a clear coat for lasting beauty.
Paper Butterfly Wall Art Installation

A stunning paper butterfly installation can transform any blank wall into a mesmerizing work of art that looks like it costs hundreds of dollars. You’ll just need colorful paper, scissors, and adhesive wall dots to create this enchanting display.
Start by cutting different-sized butterfly shapes from your paper, folding each one slightly in the middle to create dimension. You can find free butterfly templates online or draw your own. Arrange your butterflies in a flowing pattern, starting from a central point and spreading outward. Mix sizes and colors to create depth, and watch as your wall comes alive with delicate paper wings.
Upcycled Wine Bottle Candle Holders

Transform empty wine bottles into elegant candle holders that’ll bring warmth and charm to your space. After removing labels and cleaning thoroughly, you can paint, wrap, or frost your bottles to create stunning centerpieces that match your decor. Simply add taper candles or LED lights for a magical glow.
- Watch as soft candlelight dances through colored glass, creating enchanting shadows
- Feel proud knowing you’ve turned ordinary bottles into beautiful art pieces
- Experience the cozy ambiance that only flickering flames can provide
- Enjoy the satisfaction of crafting something unique and eco-friendly for your home
Fabric-Wrapped Canvas Wall Decor

Moving from glass to fabric, you’ll love creating stunning wall art that brings soft texture to your space. This budget-friendly project transforms plain canvas boards into eye-catching pieces using your favorite fabric scraps, ribbons, or even old scarves.
Simply wrap your chosen fabric tightly around the canvas, securing it at the back with a staple gun or strong glue. Create visual interest by layering different patterns, adding buttons, or incorporating meaningful pieces of lace from family heirlooms. You can arrange multiple wrapped canvases in a grid pattern or cluster them organically for a personalized gallery wall that reflects your style.
Frequently Asked Questions
How Often Should I Update My Budget Room Decor to Stay Trendy?
You don’t need to update your decor constantly to stay trendy. Instead, focus on revitalizing small accent pieces every 4-6 months, like throw pillows, wall art, or decorative items. You’ll save money and create less waste by keeping timeless, neutral base pieces that you can mix with seasonal updates. When you’re ready for a change, start with one area that’ll make the biggest impact on your space.
What Lighting Conditions Work Best for Preserving DIY Paper and Fabric Decorations?
Your precious paper crafts and fabric decorations can last forever when you treat them right! Keep them away from direct sunlight, which can fade colors faster than ice cream melts on a hot day. You’ll want to place them in areas with gentle, indirect light and maintain moderate humidity levels. Using LED lights nearby is perfect since they don’t emit harmful UV rays or generate heat that could damage your creations.
Can Rental Properties Be Decorated Without Causing Damage to Existing Walls?
You’ll be happy to know that you can decorate your rental beautifully without damaging walls! Try using command hooks, removable adhesive strips, and washi tape for hanging artwork and photos. Lean larger frames against walls on furniture, and use tension rods for curtains. Temporary wallpaper and removable decals add personality without leaving marks. Remember to test these solutions in small, hidden areas first.
Which Room Decor Ideas Are Most Child and Pet-Friendly?
You’ll find great success with soft, washable throw pillows and sturdy canvas wall art that’s securely mounted. Consider rounded-edge furniture, slip-resistant rugs, and shatterproof decor items that can withstand rough play and excited pets. Storage ottomans serve double duty, offering both seating and a safe place to quickly stash toys. Choose wipeable surfaces and machine-washable fabrics to make cleanup a breeze when accidents happen.
What’s the Best Way to Coordinate Multiple DIY Projects in One Room?
While chaos and order might seem at odds, you’ll find harmony in planning your DIY projects systematically. Start by creating a simple timeline for each project, and you’ll feel more confident tackling them together. Group similar tasks, like painting or mounting, to save time and resources. It’s helpful to work from top to bottom in your room, and don’t forget to gather all materials beforehand to keep your momentum flowing.